
How to install a camera in an Audi A5 convertible?

You have just purchased your camera to ensure the security of your Audi A5 convertible. You would like to install this model but you do not know how to proceed. Or you don't even know what type of camera to choose. Here is a detailed tutorial on how to install a camera in an Audi A5 convertible?
HOW TO INSTALL A REAR VIEW CAMERA?
This installation does not require a suitcase. The installation is also possible on other models of the Audit brand such as the A3, A4, A6, A7 and Q5. You can also install it on other brands like BMW, Mercedes, Lexus and Volvo. It is compatible with the rear and front radars. Whatever the reason that motivates you to adopt a rearview camera, it is imperative to choose a model that matches your car. So you can visit the carplay website to find the model or models that are compatible with your Audi A5 convertible.

Installation kit
The installation kit is composed of an interface and a harness that will connect to the MIB (it is in some ways the computer that manages the media of the car and it is located in the glove box). Still in this kit you will find a LVDS cable, a small harness to connect the cameras to the interface, a rear view camera incorporated in a trunk handle, an extension cable for the rear camera, a front camera on its support, an extension cable for the front camera, tools to extract the MIB, tools to unhook the interior trim of the car.
The Installation
For the installation, we begin by disconnecting the battery and removing the glove box. For that, it is necessary to unhook the side cash of the dashboard on the passenger side. Help yourself with the tools provided by sliding the tool into the gap and rotating the wrist. Repeat the operation all along the slot. Then, we unscrew the 9 new screws present on the dashboard on the passenger side. One on the right, 6 in the high part of the glove box. And 2 under the glove compartment. It is useful to use an extension of flexible key to reach the screw which is at the bottom on the left. One can then delicately draw on the glove box which slips away. It is then necessary to remove the MIB by removing the screws present on both sides of this one.
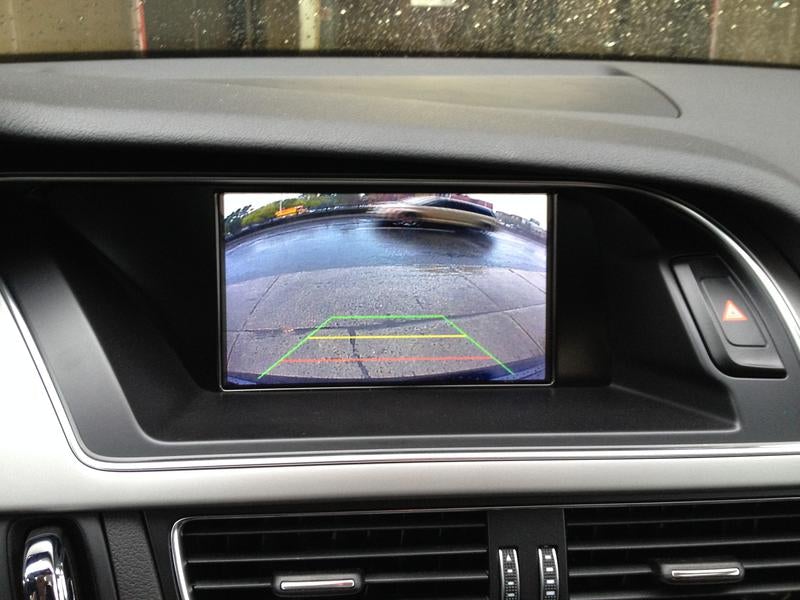
Once the MIB is removed and deposited, you must disconnect the old beam present and connect the beam provided with the camera instead. You must then disconnect the gray or pink plug to put in its place the blue plug of the LVDS cable supplied with the kit. We connect to the interface the small harness provided with the kit. Put the switches 1,2 present in the red circle on "on" and the 3,4 on "off". The extension cables of the cameras must be connected to the small harness. The two red wires are connected between them and with the purple wire which comes from the small beam. One reconnects then the battery then one starts the car. We put the reverse gear to see if the image appears. If it is not the case, it is that you connected the switches badly.
Share:
Installing Carplay in an Audi A8
Carplay installation tutorial for Land Rover Discovery Sport