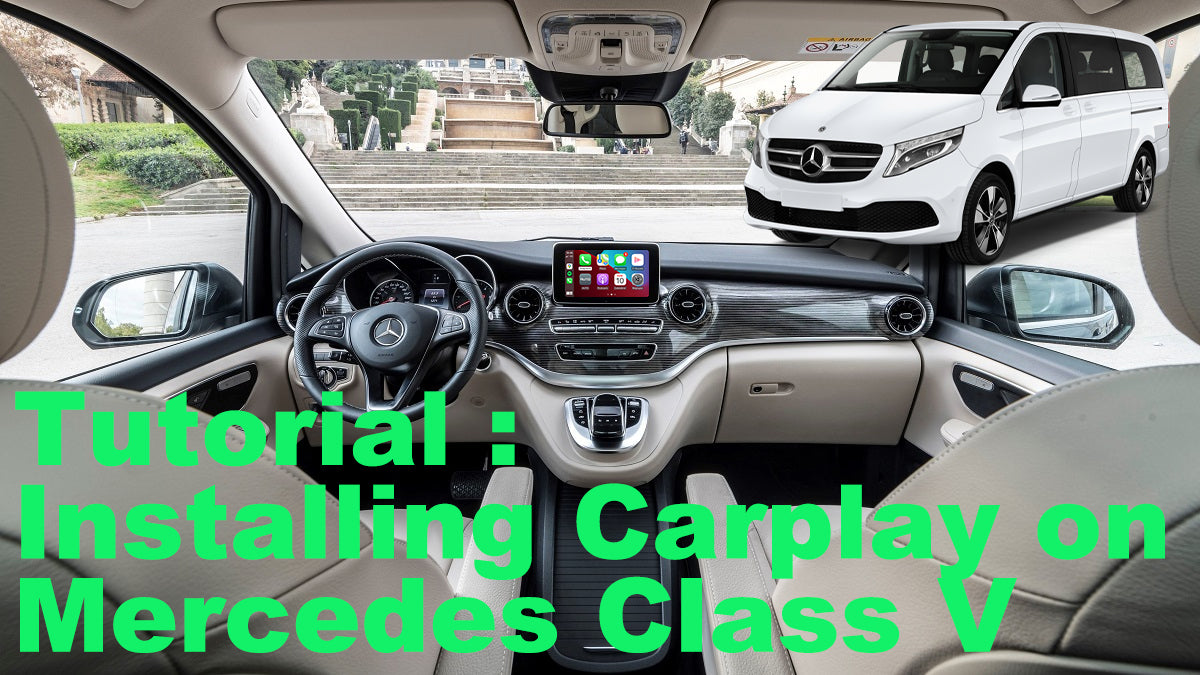
Carplay installation tutorial on Mercedes V-Class

We will see here in pictures how we install Apple Carplay on a Mercedes V-Class.
Required hardware: a torx T20 screwdriver and a curved tool (a hanger for example).
Installation time: 30-40 minutes
Inventory: Carplay module and wiring.
It includes the module, a wifi antenna, 2 LVDS (video) cables, the power cable, the auxiliary cable, and a USB cable (no need to plug it in if using the wireless device).
STEP 1: REMOVING THE DASHBOARD
Push in a curved tool to pull on the ventilation grilles.

Pull out the 2 ventilation grids like this.

Now you have to take the screen out, to access the screws, simply remove the plastic cover.

2 screws to be removed.

Once the screws are removed, pull the screen towards you to take it out.

Screws are hidden in the previously removed ventilation grilles.

Unscrew.

Now you can lift the dashboard.


Remove the 2 connectors from the dashboard.
Then put the dashboard aside so as not to interfere with the second step.
STEP 2: REMOVING THE CAR RADIO

Remove the 2 screws


Pull the radio towards you to take it out.
Remove the power connector (called Quadlock).
STEP 3: CONNECTION
Connect the Quadlock with the By-Pass
Connect the 2 video cables (LCD-LVDS)
Connect the Wifi antenna
Connect the pink LVDS cable to the blue connector (DISP- as Display).
STEP 4: TEST
Press the RETURN button on your pad for 3 seconds.
The menu appears, select what you want to use : Apple Carplay, Android Auto or Mirror Screen.
We chose Apple Carplay which will launch by default (without the previous menu), to choose Android Auto for example, go to the MERCEDES application.
Order our Apple Carplay module for MERCEDES Class V : HERE


Share:
Apple CarPlay with Samsung?
Carplay installation tutorial on Audi A5