
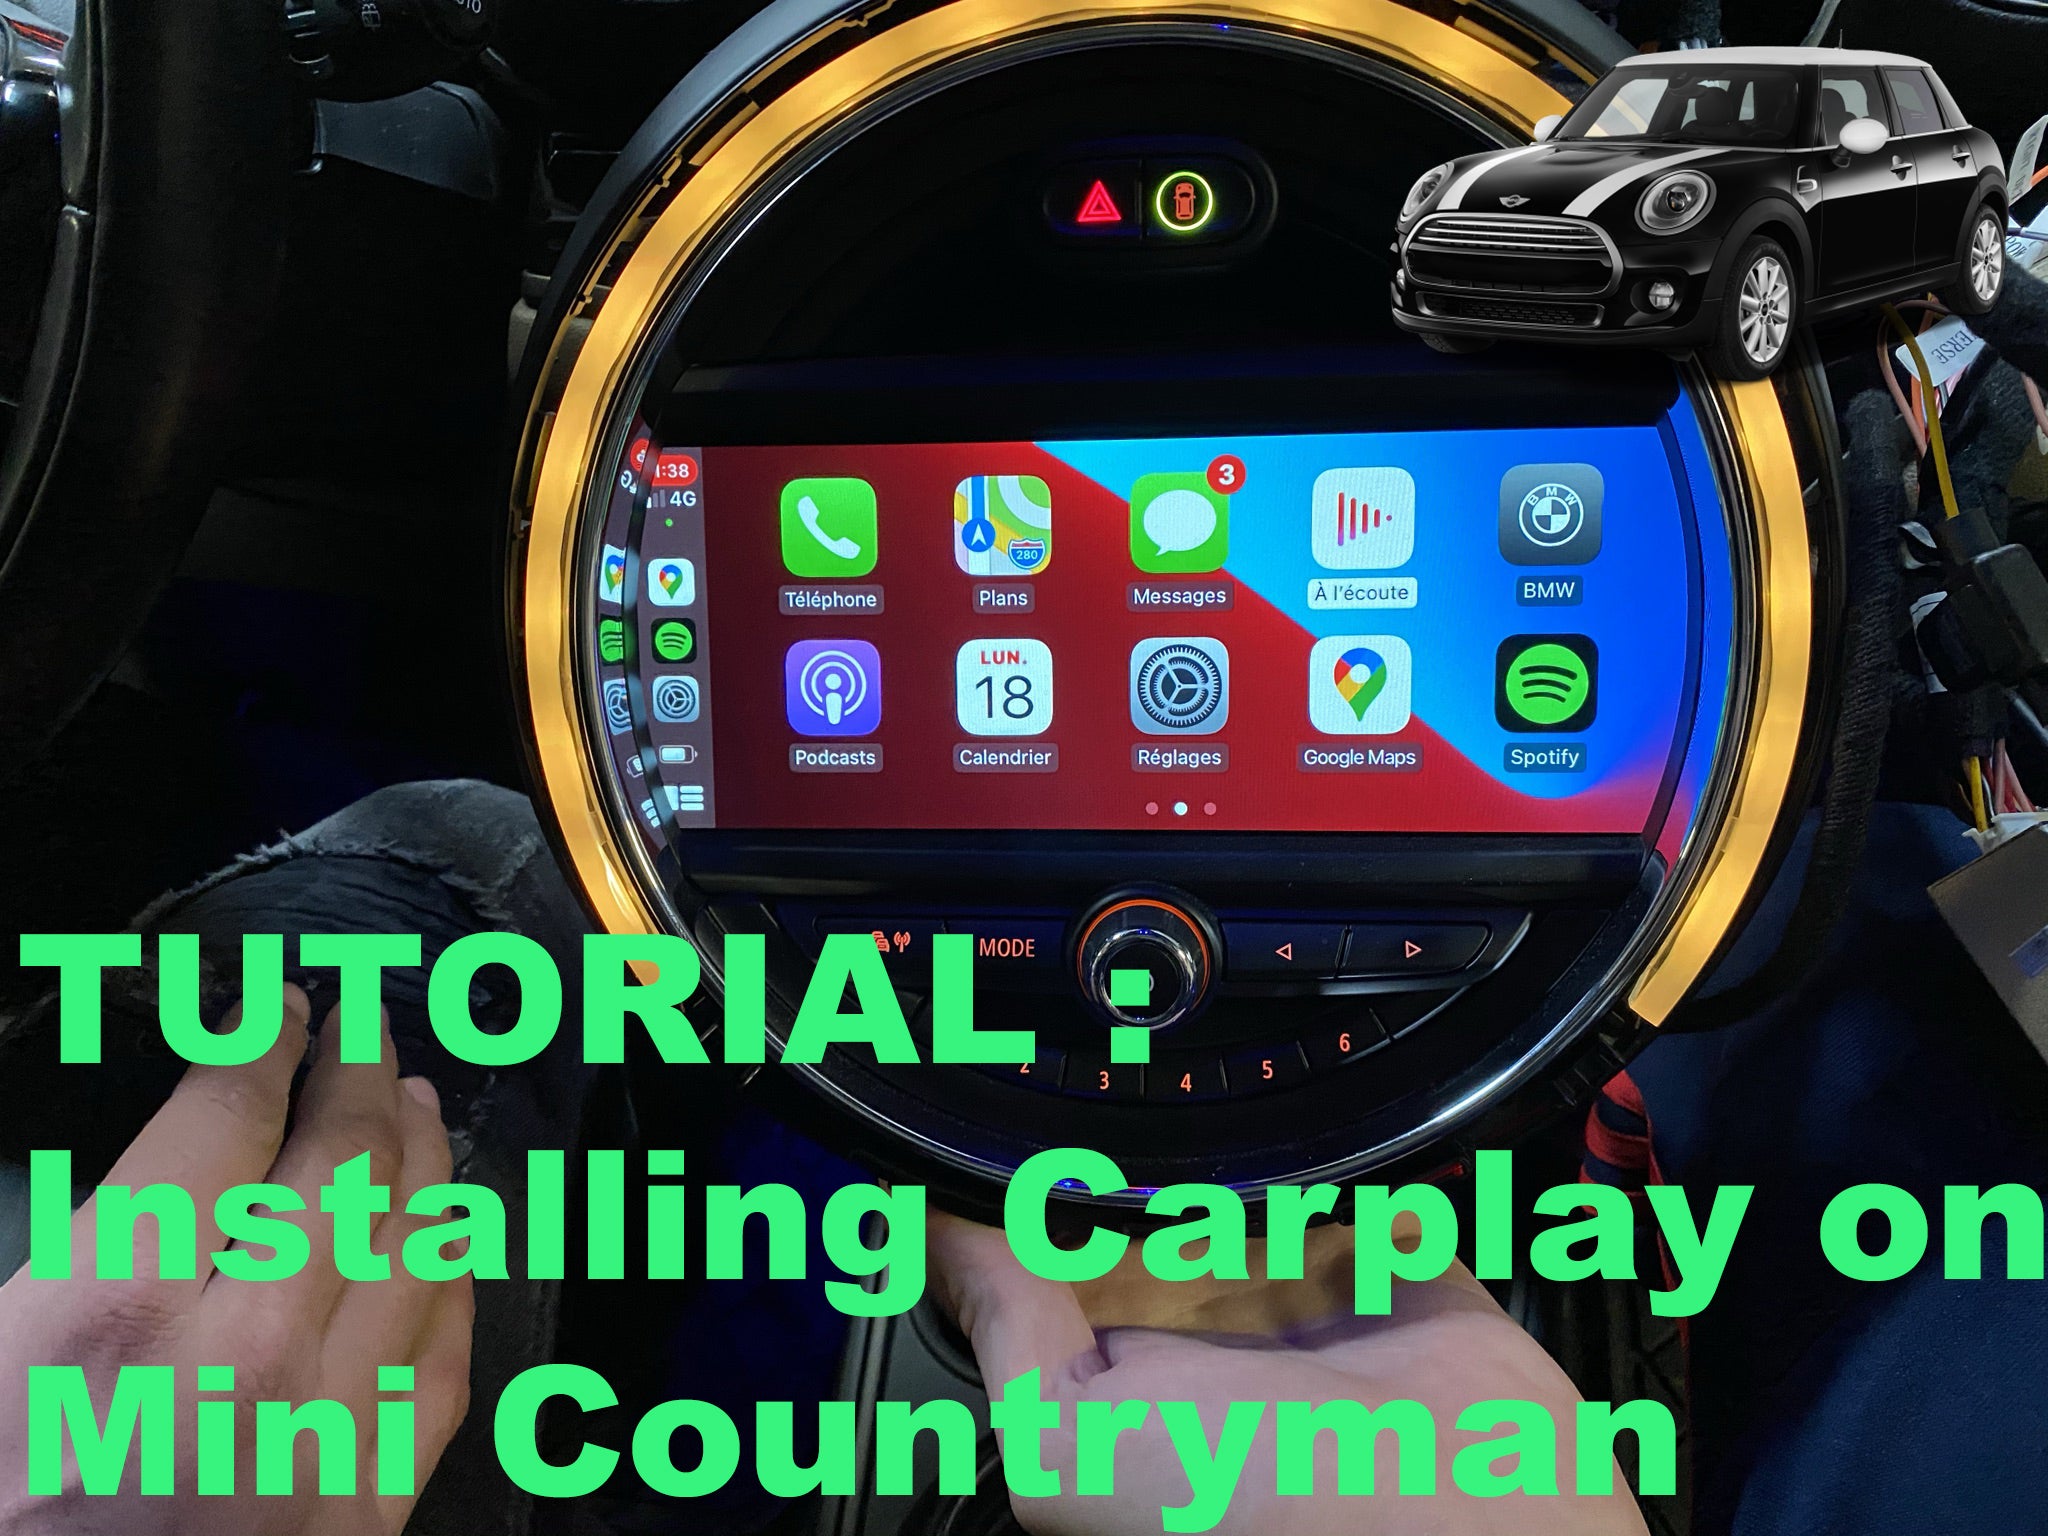
Carplay installation tutorial on Mini Countryman

We will see here in pictures how Apple Carplay is installed on a 2018 MINI Countryman with an EVO system. Same for Mini Paceman or Cooper.
Required hardware: a T20 torx screwdriver.
Installation time: 40-50 minutes
Inventory: Carplay module and wiring.
This includes the module, a wifi antenna, 2 LVDS (video) cables, the power cable, the auxiliary cable, and a USB cable (no need to plug it in if using the wireless device).
STEP 1: REMOVING THE MINI SCREEN

Turn the plastic screen cover clockwise.

You can remove it.

2 screws are visible.

Unscrew them.

Now remove the second plastic cover.

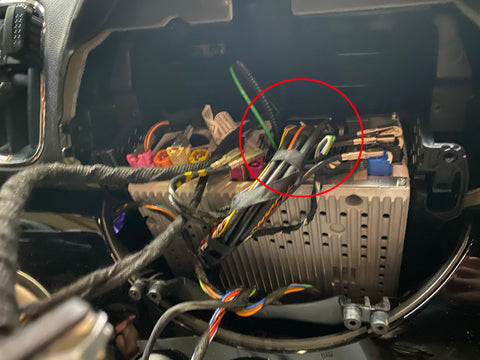
Once the screen is removed, you can finally see the car radio held by 2 torx T20 screws.
STEP 2: CONNECTION
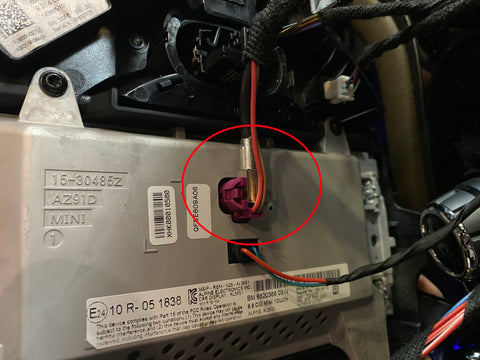
The plug (pink - purple) is the video plug of the screen.

Remove it and reconnect the video jack of the supplied kit.
Identify the large power outlet (called Quadlock), remove it.

Remove the optical fiber from the original Quadlock and put it back into the supplied Quadlock bridge (which will go directly into the original station).

Insert the supplied quadlock plug into the original connector. Simple By-Pass bridge.
STEP 3: TEST
Press and hold the MENU button for 3 seconds on your iDRIVE wheel.

The menu appears, select what you want to use : Apple Carplay, Android Auto or Mirror Screen.

We chose Apple Carplay which will launch by default (without the previous menu).
Our module: Apple Carplay for MINI HERE
Share:
Android Auto and Samsung Galaxy S20
Tutorial: Connecting original wifi antenna BMW